
E-bike brake pads should be replaced before the friction material is exhausted—ot after braking becomes unsafe. If you hear persistent grinding, see oil contamination, feel a sudden loss of bite, or find a pad at the brake maker's minimum thickness, stop riding and service the brake. For ordinary wear, inspect both wheels regularly and buy replacements by exact bike model, caliper and pad shape rather than by appearance alone.

Why powerful e-bikes deserve more frequent brake checks
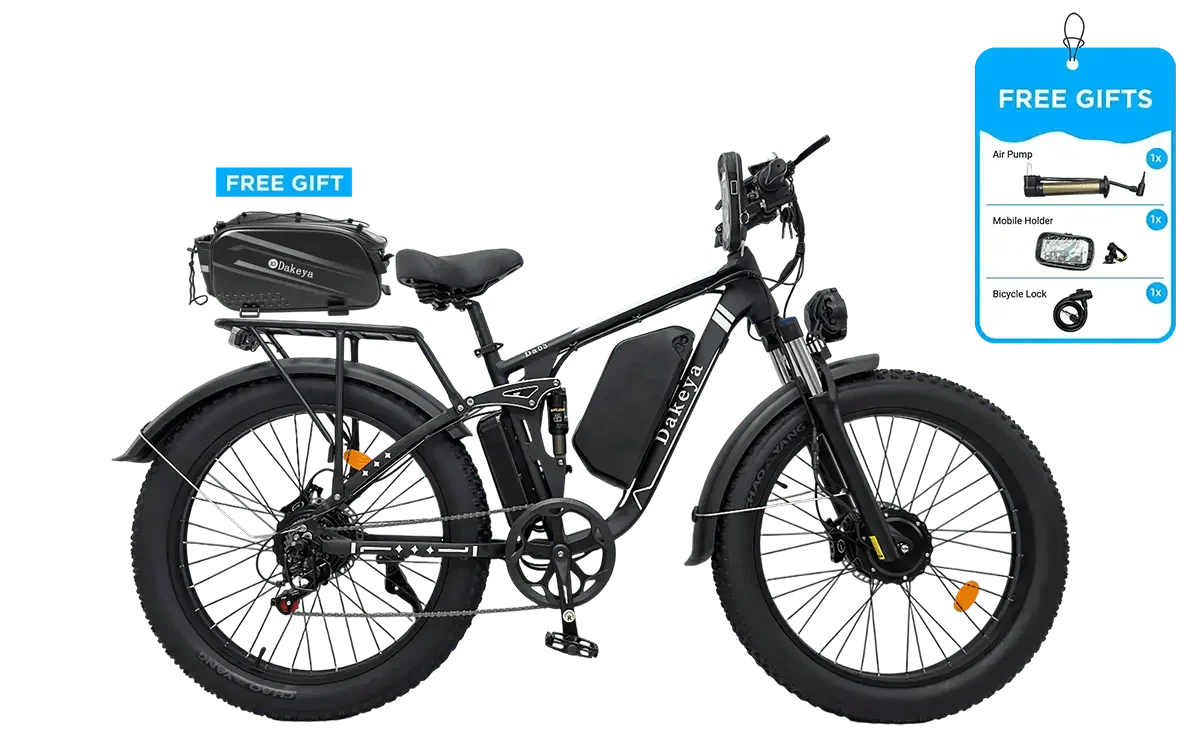
A heavy e-bike carries more kinetic energy than a light conventional bicycle at the same speed, and speed increases braking energy dramatically. Rider weight, cargo, repeated descents, wet grit and frequent stop-and-go riding all add heat and wear. The Dakeya DA03, for example, is currently listed at 89 lb with hydraulic disc brakes, 26 × 4.0 in tires and a maximum combined load up to 400 lb. Those facts do not create a universal service interval; they explain why the owner should inspect by condition and riding use.
The U.S. Consumer Product Safety Commission includes brakes in its recommended pre-ride micromobility checks. Review its micromobility safety guidance, then follow the brake manufacturer's manual for measurements and procedures.
Seven signs your e-bike brake pads need attention
1. The friction material is near its minimum
Remove and measure pads only according to the brake maker's instructions. Measure friction material, not the metal backing plate, and replace at the specified limit. Never guess a universal millimeter figure: pad designs and published limits differ. Inspect both pads because one can wear faster if a piston is slow or the caliper is misaligned.
2. Grinding or metal-on-metal noise
A brief squeal in wet weather can have several causes, but harsh grinding that continues is a stop-riding warning. The friction layer may be gone, allowing the backing plate to contact the rotor. Continued use can damage the rotor and sharply reduce control.
3. Longer stopping distance or weak bite
If the brake requires more lever force or distance on the same clean, dry route, inspect it. Worn pads are only one possibility. Contamination, glazing, a damaged rotor, air or a leak in a hydraulic system, cable problems, tire grip and surface conditions can produce similar symptoms. Do not “solve” a hydraulic problem by ordering pads blindly.
4. Lever travel has changed
A lever that suddenly pulls closer to the handlebar, feels spongy or changes from one squeeze to the next needs diagnosis. Hydraulic systems may require leak inspection or bleeding by a qualified technician. A lever that feels firm does not prove the pads have adequate material, so combine a function test with visual inspection.
5. Pads or rotor are contaminated
Chain lubricant, brake fluid, cleaners and greasy fingerprints can reduce friction. Do not spray lubricant near a disc brake. Pads soaked with oil are generally replaced rather than “burned clean.” Use only the brake maker's approved cleaning method and avoid products that leave residue.
6. Cracks, crumbling or uneven wear
Replace pads that are cracked, separating from the backing plate or wearing at a strong angle. Uneven wear calls for inspection of caliper alignment, rotor condition and piston movement before new pads are fitted.
7. Performance fades on descents
Heat can temporarily change braking feel. Stop safely and let the system cool; never touch a rotor immediately after braking. Repeated fade means the complete setup, technique, load and route should be reviewed by a competent mechanic.

How to buy the correct replacement pads
- Record the bike model and version. A model name alone may not cover production changes.
- Identify the caliper. Photograph its brand, model markings and both sides.
- Remove a pad only if you can do so safely. Photograph its outline, holes, spring and retaining pin.
- Compare exact shape and dimensions. Similar silhouettes can differ at tabs, corners or thickness.
- Confirm compound approval. Rotor markings may restrict pad compound; follow the brake maker.
- Order enough for the intended axle. Understand whether a listing means individual pads, one wheel's pair or a front-and-rear set.
The current Dakeya brake-pad page lists DA03, NOVA X1, DA06, TS60 and MX500 options and describes a total of four pads—two front and two rear. Confirm the selected variant before checkout. The Dakeya hydraulic-brake page offers model-specific front-and-rear options, including DA03, but a complete brake set should not be ordered merely because pads are worn.
Pad compound: choose compatibility before preference
Organic/resin pads are often valued for quiet initial bite, while metallic/sintered pads are often chosen for heat and wet-condition durability. Semi-metallic blends sit between them. These are broad tendencies, not guarantees. Rotor compatibility, caliper design, local noise, heat and the manufacturer's approval decide what is suitable. Do not fit a compound prohibited by the rotor marking.
Safe replacement workflow
- Power the bike off, remove the battery if the manual instructs, and support the bike securely.
- Do not pull a hydraulic brake lever while the wheel or pads are removed unless the approved spacer is installed.
- Keep oils and dirty tools away from pads and rotors.
- Inspect rotor thickness, damage and trueness to the manufacturer's limits.
- Install pads, spring, pin and clip in the correct orientation; use specified torque values.
- Center the caliper and confirm the wheel spins correctly.
- Squeeze each lever repeatedly before moving the bike; it must become consistent.
- Perform a walking-speed brake test, then bed in the pads in a controlled traffic-free area.
If any step, torque value or bleed procedure is unclear, use a qualified bicycle mechanic. Park Tool's disc brake pad removal and installation guide is a useful overview, but the component maker's manual remains controlling.

How to bed in new pads
Fresh pads and a clean compatible rotor need controlled heat cycles to establish an even transfer layer. Follow the brake manufacturer's bedding procedure. A common pattern uses repeated moderate decelerations without locking the wheel or coming to a complete stop with the brake clamped, followed by cooling. Exact counts and speeds vary. Test front and rear progressively, maintain a safe escape path, and never bed brakes in traffic.
What not to do
- Do not continue riding through grinding noise.
- Do not touch the rotor braking surface with greasy hands.
- Do not spray chain lube or general-purpose cleaner near the rotor.
- Do not mix unidentified pads, springs or retaining pins.
- Do not assume a pad fits because an online photo looks similar.
- Do not use maximum speed to test freshly installed brakes.
Frequently asked questions
How many miles do e-bike brake pads last?
There is no responsible universal mileage. Load, speed, hills, grit, weather, compound, rotor and braking technique can change life substantially. Inspect condition instead of waiting for an odometer target.
Should front and rear pads be replaced together?
Not automatically. Replace any axle that reaches its limit, but inspect both. Use a matched approved pair within each caliper and diagnose unusual side-to-side wear.
Can I replace only pads if the lever feels spongy?
Maybe not. Spongy hydraulic feel can indicate air, a leak or another service issue. Stop riding until the system is diagnosed.
Final checklist and CTA
Before ordering, send Dakeya support the bike model, purchase date if available, a caliper photo and a removed-pad photo. Shop only the confirmed model option on the replacement brake-pad page, or request technical confirmation first. Correct parts, clean installation and careful bedding are all required for predictable braking.


Share:
E-Bike Battery Compatibility: 9 Checks Before You Buy a Replacement