
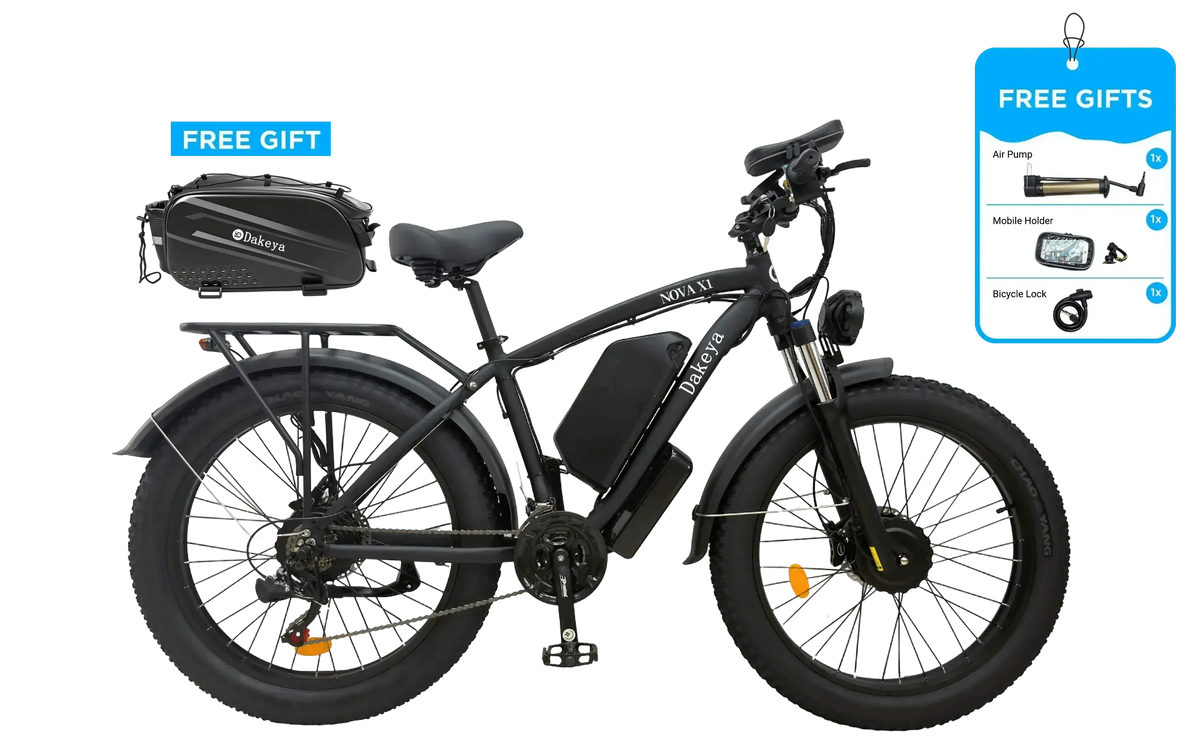
A high-power dual-motor fat-tire e-bike can accelerate harder, carry more momentum, and place greater loads on tires, brakes, wheel hardware, and steering components than a typical commuter bike. That makes a consistent e-bike pre-ride safety check one of the most useful habits a rider can build.
This guide explains a practical inspection you can complete before riding a performance-focused model such as the Dakeya DA03 or Dakeya NOVA X1. It also covers the more detailed checks to perform after assembly, after transporting the bike, and after a hard off-road ride.

The 60-second pre-ride check
When time is limited, use this short sequence before every ride:
- Tires: Check pressure, visible damage, and embedded debris.
- Wheels: Confirm both wheels are secure and spin without obvious wobble.
- Brakes: Squeeze each brake separately and confirm firm lever pressure.
- Steering: Hold the front wheel and verify the handlebar and stem do not twist independently.
- Battery: Confirm it is seated and locked, with no swelling, cracks, leaks, or unusual heat.
- Controls: Power on, check the display, and confirm the throttle returns freely.
- Loose items: Check the rack, fenders, lights, pedals, and cargo.
- Low-speed test: Start in the lowest practical power setting and test both brakes before entering traffic or a trail.
If any item does not feel normal, do not “ride it and see.” Investigate first.
1. Check fat-tire pressure and condition
Fat tires provide a large contact patch and useful cushioning, but they are sensitive to pressure. Pressure that is too low can make steering vague, increase rolling resistance, encourage pinch damage, and allow the tire to move on the rim. Pressure that is too high can reduce grip and comfort, especially on loose surfaces.
- Use a reliable low-pressure gauge rather than judging only by squeezing the tire.
- Stay within the pressure range printed on the tire sidewall and follow the model manual.
- Adjust for terrain, total load, temperature, and riding speed.
- Inspect both sidewalls for cuts, cracking, bulges, or exposed casing.
- Look across the tread for glass, metal, thorns, or sharp stones.
- Confirm the tire bead appears evenly seated around the rim.
After a major temperature change, recheck pressure. Cold conditions can reduce measured pressure, while heat generated during riding can raise it.

2. Confirm both wheels are secure
Wheel security deserves special attention on a powerful hub-motor e-bike. Acceleration and braking repeatedly load the axle, fasteners, dropouts, and torque-control hardware.
With the bike powered off and stable:
- Check that axle hardware is fully seated and secure according to the manual.
- Inspect any torque washers or torque arms for movement, bending, or incorrect placement.
- Lift each wheel slightly and spin it. Watch the rim and tire for side-to-side movement.
- Listen for rubbing, clicking, or scraping.
- Check for loose or broken spokes by comparing spoke tension around the wheel.
- Make sure motor cables are supported and cannot touch the tire, brake rotor, or suspension.
Do not guess fastener torque. Use the value in the correct manual or obtain it from Dakeya support. Excessive tightening can damage parts just as insufficient tightening can allow movement.
3. Test the hydraulic brakes before moving
A bike that accelerates strongly must also stop predictably. Test the front and rear brakes separately while stationary.
- Each lever should feel firm rather than pulling to the handlebar.
- The lever should return normally when released.
- Look for fluid around the lever, hose, caliper, and fittings.
- Check that the hose is not kinked, crushed, or rubbing a moving part.
- Inspect the brake rotors for obvious bends or contamination.
- Check pad thickness regularly, especially after wet, sandy, or downhill riding.
Then perform a walking-speed brake test in a clear area. If stopping power is reduced, the lever feels spongy, the brake fades under steady pressure, or fluid is visible, stop using the bike until the system is serviced.
4. Check the handlebar, stem, headset, and controls
Stand in front of the bike, hold the front wheel between your legs, and apply gentle twisting pressure to the handlebar. The bar and stem should not rotate independently of the wheel.
Apply the front brake and rock the bike forward and backward. A knock near the headset may indicate play that requires adjustment. Also check:
- Handlebar clamp and stem bolts
- Brake-lever and display positions
- Throttle movement and spring return
- Control cables through the full steering range
- Grips for rotation or damage
Turn the handlebar fully left and right. Wiring should not stretch, pinch, pull connectors, or interfere with controls.

5. Inspect the battery before powering on
Before each ride, confirm that the battery is fully seated and locked. Examine the case and surrounding mounting area for:
- Cracks, impact marks, swelling, leakage, or deformation
- Water intrusion or wet connectors
- Burn marks, melted plastic, or unusual odor
- Loose mounting hardware
- Unusual heat before use
Do not charge or use a battery that is swollen, punctured, leaking, water-damaged, abnormally hot, or physically compromised. Use only the compatible charger supplied or approved for the battery. Charge in a dry, ventilated location away from flammable materials.
For a clear explanation of transport-test documents and their limits, see Dakeya’s Battery Safety & Transport Documentation. Transport testing is not the same as complete e-bike electrical-system certification.
6. Verify pedals, cranks, chain, and drivetrain
Newly assembled bikes deserve an extra drivetrain check because pedals are frequently installed by the customer. Confirm the right pedal is in the right crank and the left pedal is in the left crank; the two sides use different thread directions.
- Check both pedals for correct installation and secure engagement.
- Inspect crank arms for play.
- Look for stiff, dry, damaged, or heavily contaminated chain links.
- Shift through the mechanical gears in a controlled area.
- Check that the chain runs cleanly without trying to leave the cassette or chainring.
- Keep clothing, straps, and cargo away from the chain and wheel.
If a pedal begins threading at an angle or requires unusual force, stop. Cross-threading can permanently damage the crank.
7. Check suspension, fenders, rack, and cargo
For a full-suspension model such as the DA03, inspect the front fork and central suspension area for leakage, damage, loose pivots, or unexpected play. Compress the suspension while stationary and confirm smooth movement without binding or knocking.
On either bike, verify that:
- Fenders cannot contact the tires.
- The rear rack and accessories are secure.
- Cargo is centered, restrained, and within every component limit.
- No strap can enter a wheel or drivetrain.
- Lights and reflectors are clean and secure.
- The kickstand is fully raised before riding.
Added cargo changes acceleration, steering, braking distance, and range. Begin slowly whenever the load changes.

8. Power on and check for abnormal behavior
After completing the mechanical inspection, power on the bike while keeping it stable and away from people or obstacles.
- Confirm the display starts normally and shows no unexpected error code.
- Check the indicated battery level before planning the route.
- Verify that brake cut-off behavior works as intended, if equipped.
- Confirm the throttle returns immediately when released.
- Listen for abnormal motor or controller sounds.
- Start in a low power level and use one motor where appropriate until conditions require more.
Never test a powered wheel while hands, clothing, tools, or loose cables are near the tire, spokes, rotor, chain, or motor.
Checks after assembly, transport, or a hard ride
A normal 60-second inspection is not enough after certain events. Perform a more detailed check:
- After initial assembly: review every customer-installed component and follow the official installation video and manual.
- After the first rides: check customer-installed fasteners again because components can settle.
- After vehicle transport: inspect wheels, controls, cables, battery mounting, and accessories for movement or impact.
- After a crash or tip-over: examine the handlebar, brake levers, wheels, frame, fork, battery, and motor cables.
- After mud, rain, sand, or snow: clean and dry the bike, inspect the brakes and drivetrain, and avoid directing high-pressure water at electrical components or bearings.
- After repeated steep climbs or descents: allow the system to cool and inspect tires and brakes.
A simple maintenance schedule
| When | Recommended check |
|---|---|
| Before every ride | Tires, wheels, brakes, steering, battery lock, controls, loose accessories, low-speed brake test |
| After initial assembly and first rides | Recheck all customer-installed components using the manual’s procedures and torque values |
| Weekly during frequent use | Spokes, brake pads, drivetrain, cables, lights, rack, fenders, suspension, visible fasteners |
| After rough or wet riding | Clean, dry, inspect for impact or water damage, check brakes and drivetrain |
| Periodically | Professional inspection based on mileage, conditions, riding intensity, and local service guidance |
Download the correct manual and installation guide
Use the instructions for your exact model rather than relying on a similar-looking bike. Dakeya provides model-specific downloads and installation videos on the User Manuals & Installation Guides page.
Frequently asked questions
How often should I inspect a high-power e-bike?
Perform a quick tire, wheel, brake, steering, battery, and control check before every ride. Inspect more deeply after assembly, transport, impact, wet or muddy use, or unusually demanding riding.
Can I ride if one brake feels weak?
No. A weak, leaking, fading, or abnormally soft brake should be inspected and repaired before riding. Do not rely on the other brake as a substitute.
Should I use maximum dual-motor power immediately?
No. Begin in the lowest practical setting in a clear area. Learn the throttle response, steering, traction, and braking before increasing power. Use higher-power operation only where permitted and appropriate.
What should I do if the battery case is damaged?
Do not charge or use it. Move away from flammable materials only if it is safe to do so, avoid handling a hot or leaking battery, and contact qualified support for instructions.
Where can I ride a high-power e-bike?
Rules vary by state and locality. A high-power configuration may fall outside standard Class 1, 2, or 3 definitions. Check local motor-power, speed, equipment, registration, insurance, and access rules. Use private property or designated off-road areas where required.
Final takeaway
The best safety upgrade is a repeatable routine. Check the tires, wheels, brakes, steering, battery, controls, drivetrain, and loose accessories; then perform a low-speed brake test. It takes less time than repairing preventable damage—and gives you a better chance of noticing a change before it affects the ride.


Share:
How to Store NOVA X1 & DA03 E-Bike Batteries for Winter