
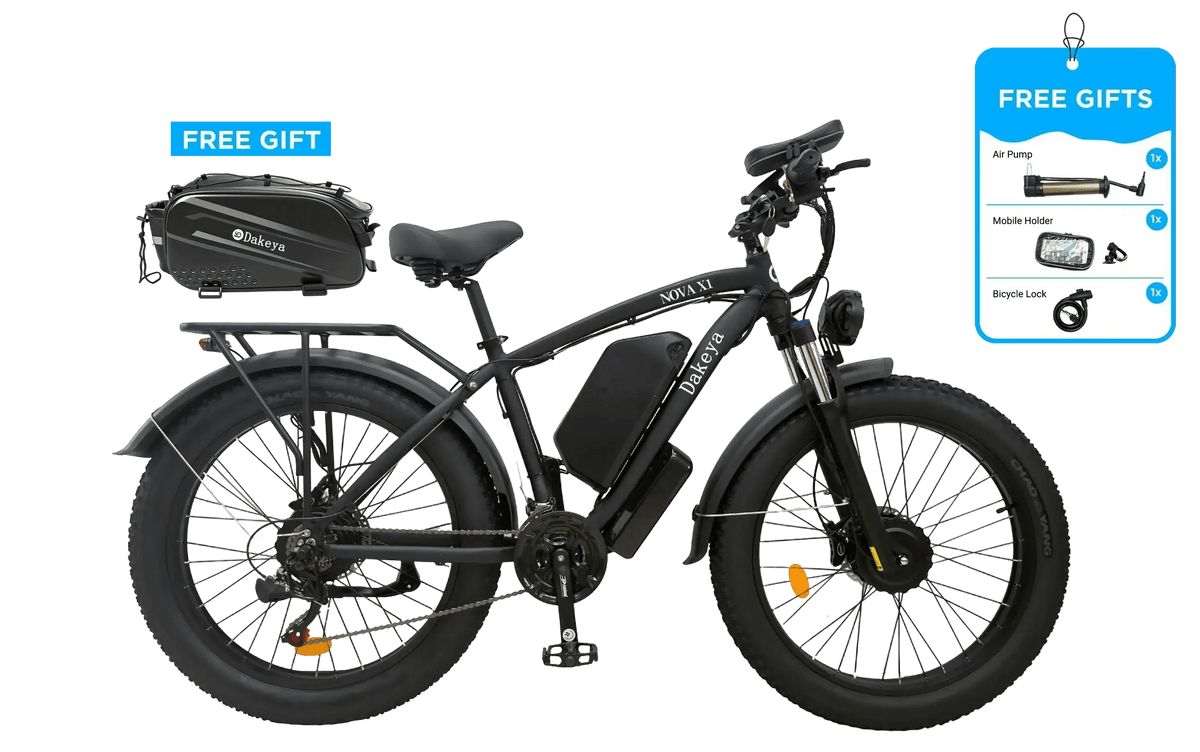
A fat-tire e-bike gives you more capability on pavement, gravel, sand, and rough trails—but it also weighs more than a typical commuter bicycle. Safe transport starts with choosing equipment that can support the bike, then securing it so the frame, wheels, battery, controls, and finish are protected from movement, vibration, and weather.
This guide explains how to transport a heavy fat-tire e-bike such as the Dakeya NOVA X1 or Dakeya DA03 by hitch rack, pickup truck, SUV, or trailer.

Quick answer: what is the safest way to transport a fat-tire e-bike?
For most riders, the best option is a heavy-duty hitch-mounted platform rack specifically rated for the bike’s total weight and tire width. Platform racks support the tires instead of hanging the bike from the frame, and they usually make loading easier than a roof rack.
A pickup bed or trailer can also work well when the bike is too heavy for a standard rack. A roof rack is usually the least convenient choice for a heavy fat-tire e-bike because lifting the bike overhead increases the chance of dropping it or damaging the vehicle.
1. Know the complete weight before choosing transport equipment
Do not compare the bike’s advertised weight with a rack’s maximum capacity without accounting for accessories. Calculate:
- Complete bike weight
- Battery weight, if the battery remains installed
- Racks, baskets, child seats, or cargo boxes
- The weight of any second e-bike on the rack
Use the manufacturer’s actual loaded weight where possible. The rack’s rating must exceed the combined load, and the hitch receiver, vehicle, and tongue-weight limit must also be suitable. A rack rated for a lightweight city e-bike may not be appropriate for a dual-motor fat-tire model.
2. Remove the battery when practical
Removing a removable battery before transport reduces the bike’s weight and lowers the load on the rack. It also keeps the battery away from unnecessary vibration, rain, road spray, and temperature extremes.
- Power the bike off before removing the battery.
- Keep the battery in a dry, padded location where it cannot slide or be crushed.
- Protect terminals from metal objects and moisture.
- Do not leave a battery in a hot, enclosed vehicle for long periods.
- Never transport a battery that is swollen, cracked, leaking, unusually hot, or visibly damaged.
Follow the battery and charger instructions for storage and charging. If you suspect battery damage after a crash or impact, do not charge it until it has been inspected.
3. Choosing a hitch-mounted rack
For a heavy fat-tire e-bike, look for a platform rack with:
- A verified per-bike weight rating greater than the loaded bike weight
- Wheel trays wide enough for fat tires
- Long, strong wheel straps or ratchet straps
- A frame-independent retention system when possible
- A hitch adapter and receiver size approved by the rack manufacturer
- A locking hitch pin and bike lock for stops
- A ramp or loading assist if the bike is difficult to lift
Check whether the rack’s published capacity changes when it is mounted to a hitch extender or when carrying two bikes. Some racks also have reduced capacity when tilted or used with certain vehicles.
4. Loading a fat-tire e-bike onto a hitch rack
- Park on level ground, set the vehicle parking brake, and make sure the rack is fully seated in the receiver.
- Open the rack’s wheel trays and lower the loading ramp if provided.
- With the bike powered off, guide it straight onto the trays. Ask for help rather than lifting an unstable bike alone.
- Center both tires in the trays and keep the handlebar, pedals, and accessories clear of the vehicle.
- Engage the rack’s primary retention arm or frame-free wheel clamp according to its instructions.
- Secure both wheels with the rack straps. The straps should hold the tires firmly without crushing them.
- Add a secondary tie-down through an approved solid point if the rack manufacturer permits it.
- Remove or secure loose accessories such as mirrors, pumps, bags, and removable displays.
Do not use brake hoses, electrical cables, fenders, display mounts, or plastic trim as tie-down points. Avoid placing a strap over a sharp edge or a moving suspension part.

5. Transporting the bike in a pickup truck
A pickup bed can be a practical option when the bike is heavy or when you need room for two bikes. Use a front-wheel chock or a purpose-built bike mount to stop the wheels from rolling. Keep the bike upright when possible.
- Place the bike where the bed structure can support it.
- Use at least two independent tie-down directions: forward/back and side-to-side.
- Attach straps to solid frame areas approved by the bike or rack instructions.
- Compress suspension only as much as needed to control movement; do not over-compress it for a long trip.
- Prevent the pedals, derailleur, rotors, and display from contacting the bed or other cargo.
- Use a weather-resistant cover that cannot flap against the finish or block the driver’s view.
Do not rely on a kickstand as the primary support. It is not designed to secure a bike during vehicle movement.
6. Using a trailer or cargo carrier
A trailer or enclosed cargo area can make loading easier, especially for multiple bikes. Position the bike so its weight is distributed correctly and it cannot contact another bike, wall, or loose cargo.
Use wheel chocks plus independent straps. Check that the trailer ramp, loading surface, door, and anchor points are rated for the total load. Close and latch the door only after confirming no cable, tire, or accessory is trapped.
7. Protect the bike from wind, rain, and road debris
Airflow around a moving vehicle can pull on a bike cover and stress retention points. If you use a cover, choose one intended for vehicle transport, secure it tightly, and check that it cannot touch hot exhaust components, tires, brake rotors, or the road.
After driving through rain, salt, mud, or dusty roads, dry the bike and inspect the drivetrain, connectors, brake rotors, and battery compartment. Do not spray high-pressure water directly at electrical connectors, bearings, or seals.
8. Make a short inspection stop
After the first few miles, stop in a safe location and recheck:
- Hitch pin, rack tilt mechanism, and safety cables
- Wheel straps and retention arms
- Bike movement, loose hardware, and contact points
- Battery and display storage
- Cover straps and any sign of rubbing
Repeat the inspection whenever road conditions change or after a long stretch of highway driving. At your destination, unload before removing the primary restraints and keep the bike stable until both wheels are on the ground.
What not to do
- Do not exceed the weight rating of the rack, hitch, vehicle, trailer, or tie-downs.
- Do not carry a heavy fat-tire e-bike on a rack designed only for lightweight frame-hanging bikes.
- Do not secure the bike by the brake hose, throttle, display, or electrical cable.
- Do not leave a removable battery exposed to rain, extreme heat, or freezing conditions without following its storage instructions.
- Do not assume a tight strap is safe if the rack itself can move in the receiver.
- Do not ride with the bike still attached to a rack or with the rack’s loading ramp deployed.
Final checklist
Before leaving, confirm:
- The total loaded weight is within every relevant rating.
- The battery is removed or protected and stored securely.
- Both tires are centered in their trays or blocked by chocks.
- Primary restraints and wheel straps are tight and correctly placed.
- No strap touches a rotor, cable, chain, tire sidewall, or hot exhaust part.
- Loose accessories are removed or secured.
- The vehicle lights, license plate, rear camera, and driver’s view are not blocked.
- You have completed a short recheck after starting the trip.
With the right equipment and a repeatable routine, transporting a high-performance fat-tire e-bike can be straightforward. For model-specific assembly, battery, and maintenance questions, consult the correct Dakeya manual or contact Dakeya support before riding.


Share:
High-Power E-Bike Pre-Ride Safety Checklist: 8 Checks Before Every Ride
Dual-Motor vs. Single-Motor E-Bikes: Which One Do You Actually Need?